To put drawers back in a Kitchenaid fridge, follow these instructions: first, gently slide the drawer onto the tracks in the fridge until it is fully seated. Then, ensure it glides smoothly by testing its movement.
When it comes to reassembling your Kitchenaid fridge, putting the drawers back in their proper place is an essential task. Whether you’ve removed them for cleaning or organizing purposes, correctly reinserting the drawers will keep everything organized and functional. This article provides a concise step-by-step guide on how to put your Kitchenaid fridge drawers back in place.
By following these instructions, you can easily and effortlessly restore the functionality of your fridge without any hassle.

Credit: www.amazon.com
Understanding The Structure Of A Kitchenaid Fridge
Understanding the structure of a Kitchenaid fridge is essential to successfully put drawers back in place. Learn the steps to secure the drawers and ensure efficient organization in your refrigerator.
Understanding the Structure of a Kitchenaid Fridge When it comes to putting drawers back in a Kitchenaid fridge, understanding the structure of the appliance is essential. Kitchenaid fridges are designed with specific compartments and types of drawers that serve different purposes. In this section, we will provide an overview of the design of a Kitchenaid fridge, discuss the types of drawers you may encounter, and address common issues you may face when putting the drawers back in place.Overview Of Kitchenaid Fridge Design
Kitchenaid fridges are meticulously designed to maximize storage space and convenience. They typically feature multiple compartments, including the freezer, refrigerator, and various drawer units. These compartments are strategically placed to optimize temperature control and ensure proper storage of different food items. By understanding the overall design of your Kitchenaid fridge, you will be better equipped to tackle the task of putting drawers back in their designated spots.Types Of Drawers In A Kitchenaid Fridge
Kitchenaid fridges may come with several types of drawers, each serving a unique function. Here are some common types of drawers you may find in your Kitchenaid fridge: 1. Crisper Drawer: This drawer, located in the lower part of the refrigerator, is specially designed to maintain humidity levels and keep fruits and vegetables fresh for longer periods. It is essential to put the crisper drawer back in place correctly to maintain the optimal storage conditions for your produce. 2. Deli Drawer: Found in some Kitchenaid models, the deli drawer is perfect for storing cold cuts, cheeses, and other deli items. It is often located above or below the refrigerator compartment and can be easily identified by its adjustable temperature settings and convenient organization options. 3. Freezer Drawer: In Kitchenaid fridges with a bottom freezer design, the freezer drawer is usually located at the base of the appliance. This spacious drawer allows you to organize frozen foods efficiently. Properly placing the freezer drawer back in its designated position ensures easy access and prevents any potential issues with the freezer’s functionality.Common Issues With Putting Drawers Back
Putting drawers back in a Kitchenaid fridge may sometimes present challenges. Here are some common issues you may encounter and tips to address them: 1. Misalignment: If the drawer is not aligning properly with the tracks or the designated slot, it may not slide in smoothly. Ensure that you have correctly positioned the drawer according to the fridge’s structure. Double-check for any obstructions or debris that could be hindering the drawer’s movement. 2. Door Closure Problems: Sometimes, putting a drawer back in place can interfere with the fridge door’s closing mechanism. Make sure that the drawer is correctly inserted without obstructing the door’s movement or inhibiting the door seal’s proper closure. 3. Damaged Drawer Slides: Over time, the drawer slides may become worn or damaged, affecting the smooth sliding motion. If you notice any issues with the drawer’s movement, inspect the slides for any signs of wear and consider replacing them if necessary. By understanding the structure of your Kitchenaid fridge, identifying the different types of drawers, and addressing common issues, you will be able to successfully put the drawers back in place, ensuring a well-organized and functional refrigerator.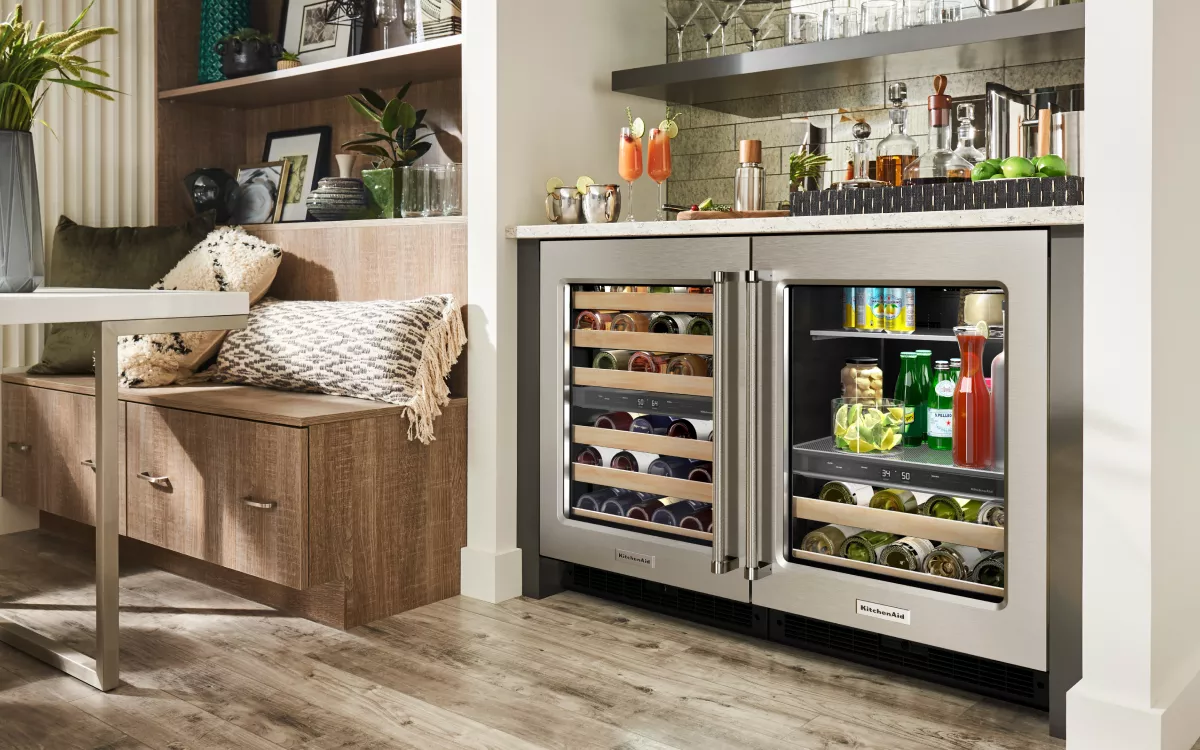
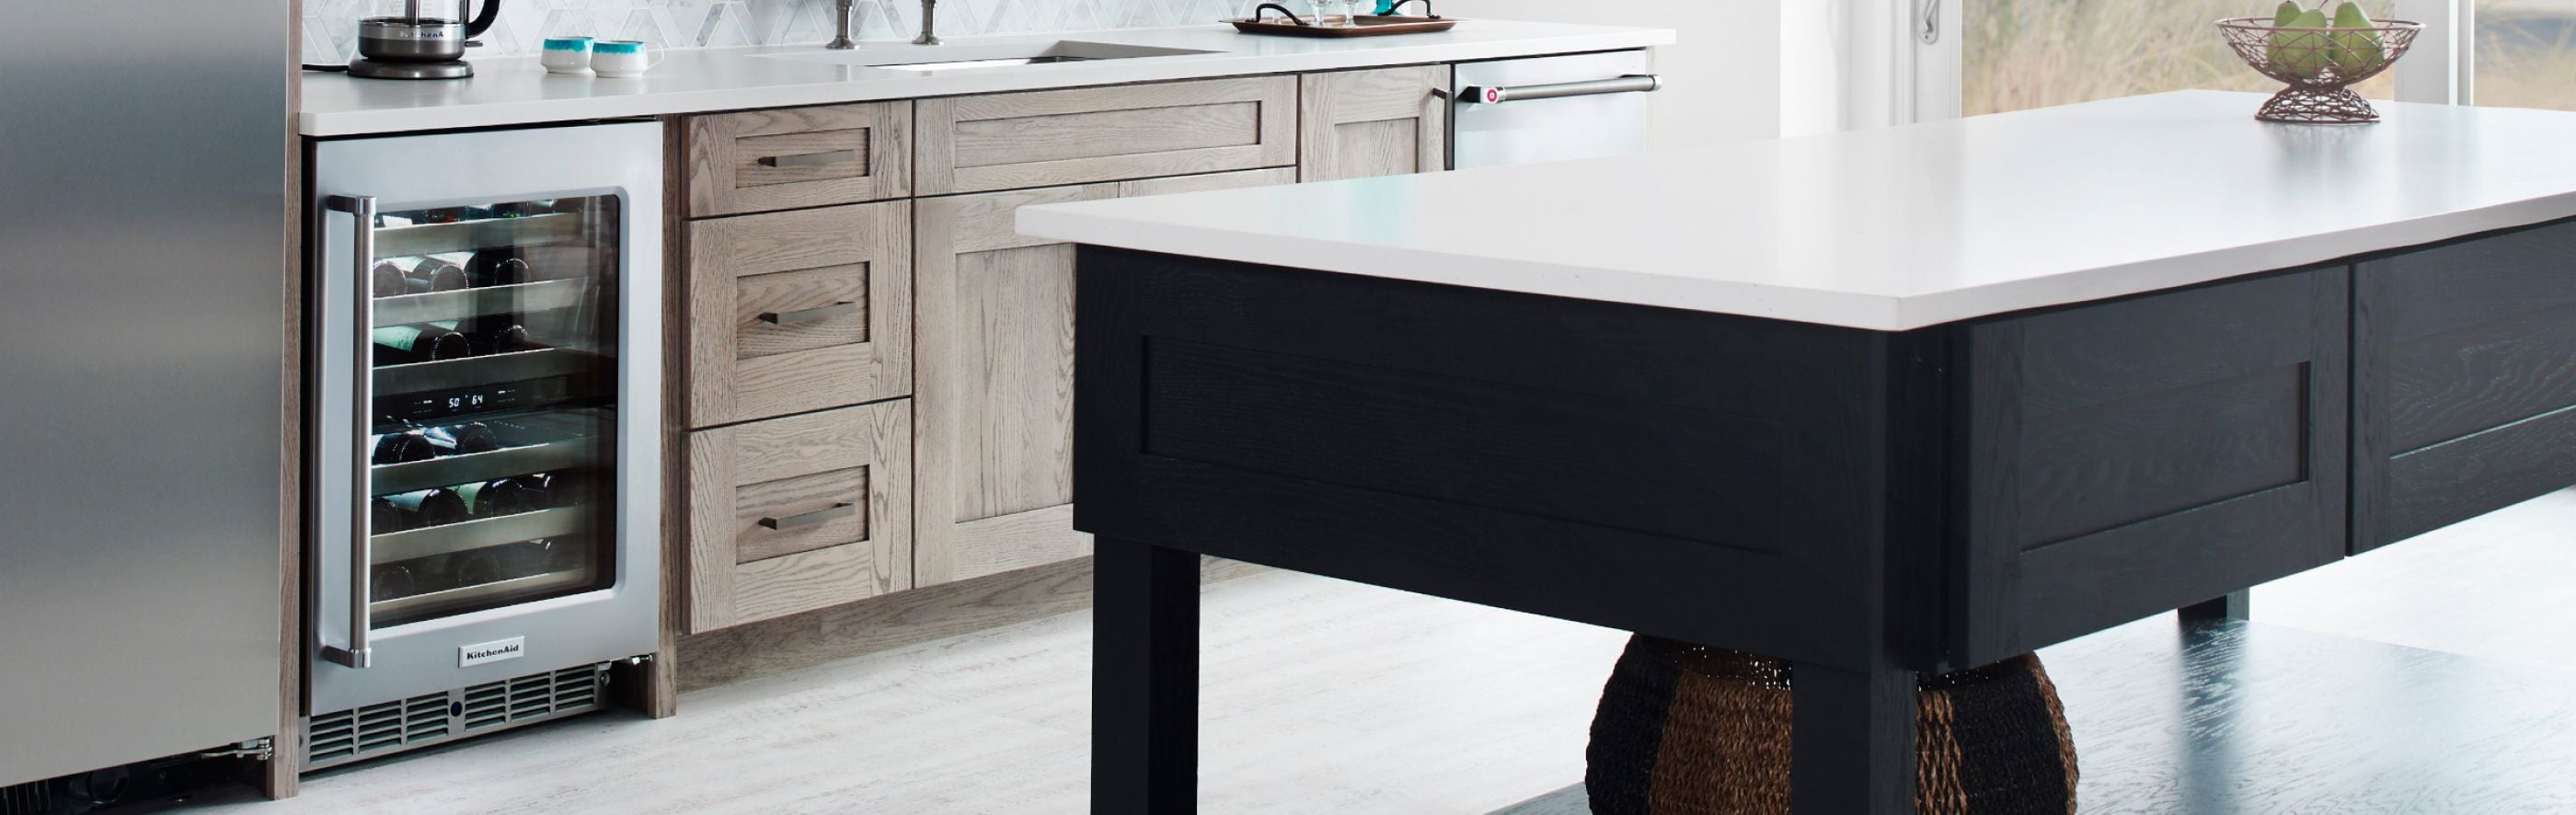
Credit: www.kitchenaid.com
Step-by-step Guide To Putting Drawers Back In A Kitchenaid Fridge
Putting drawers back into a Kitchenaid fridge may seem like a simple task, but it can sometimes be tricky to get them aligned and secured properly. In this step-by-step guide, we will walk you through the process to ensure that your drawers fit snugly and function smoothly. Whether you’re needing to reinstall drawers after cleaning or adjusting their position, our instructions will help you get the job done quickly and efficiently.
Preparation
Before you start putting the drawers back into your Kitchenaid fridge, it’s important to make sure you have everything you need. Here are a few key preparation steps to follow:
- Empty the contents of the fridge and set them aside, making sure perishable items are kept in a cool place.
- Gather any tools you may need, such as a screwdriver or pliers, to assist with the process.
- Remove any shelves or organizers that might be in the way of reinstalling the drawers.
Removing The Drawers
Now that you’re prepared, it’s time to remove the drawers from the fridge. Follow these simple steps:
- Start by opening the refrigerator door fully to gain access to the drawers.
- Locate the release mechanism on each side of the drawer. This may be a locking tab or a lever that needs to be pressed or lifted.
- While holding down the release mechanism, carefully slide the drawer out of the fridge.
- Repeat this process for all the drawers that need to be removed.
Cleaning And Maintenance
Now that the drawers are out of the fridge, it’s a good opportunity to clean and maintain them. Follow these steps:
- Wipe down the drawers with a mild cleaning solution to remove any food residue or stains.
- Inspect the drawers for any cracks or damage. If necessary, replace any damaged parts before continuing.
- Apply a thin layer of food-grade lubricant to the slides or tracks on the sides of the drawers. This will help them glide smoothly when you put them back in.
Correct Alignment
Now that you’ve prepared and cleaned the drawers, it’s time to align them correctly before reinstallation. Follow these steps:
- Start with the bottom drawer, as it usually needs to be inserted first in most models.
- Align the drawer with the tracks or slides on either side, ensuring it sits evenly and flush against the back wall of the fridge.
- Slide the drawer back into place slowly and carefully, checking for any obstructions or misalignments as you do so.
- Repeat the alignment process for each additional drawer, moving from bottom to top.
Securing The Drawers
Once the drawers are aligned correctly, it’s time to secure them in place. Follow these steps:
- Push the drawer all the way in until it reaches the back of the fridge.
- Listen for a click or feel for a locking mechanism engaging, indicating the drawer is secure.
- Repeat this process for each drawer, making sure they are all fully inserted and secured.
With this step-by-step guide, you can confidently and successfully put your drawers back into your Kitchenaid fridge. Remember to take your time, ensure proper alignment, and double-check that each drawer is securely in place. By following these steps, you’ll have your fridge fully operational again, keeping your food fresh and organized.
Troubleshooting Tips
Having trouble putting the drawers back in your Kitchenaid fridge? Follow these handy troubleshooting tips to make the task a breeze.
Drawer Not Fitting Properly
If you’re having difficulty putting your drawers back into your Kitchenaid fridge, the first thing to check is whether the drawer is fitting properly. Sometimes, it may not align with the track or not slide all the way in. Here are some troubleshooting tips to fix the issue:- Make sure you are inserting the drawer into the correct slot.
- Check for any obstructions or debris that may be preventing the drawer from sliding in smoothly. Clear out any items or food that might be blocking the way.
- Inspect the drawer and track for any visible signs of damage. Look for cracks, bent pieces, or misaligned components.
- If the drawer is not sitting flush, try adjusting it slightly from side to side to find the best fit. Be gentle to avoid causing any damage.
Drawer Track Issues
If your drawers are not sliding smoothly on the track, it could be due to track issues. Here are some troubleshooting steps you can take to resolve the problem:- Remove the drawer completely from the fridge.
- Inspect the track for any dirt, debris, or residue that may be causing the obstruction. Clean the track thoroughly using a mild detergent and a soft cloth.
- Check for any loose or broken parts in the track mechanism. Tighten or replace any damaged components if necessary.
- Apply a small amount of food-grade lubricant or petroleum jelly to the track to help the drawer slide more smoothly. Be cautious not to use too much, as it can attract dirt and cause more issues.
Drawer Adjustment Techniques
Sometimes, the drawer may require a slight adjustment to ensure it fits properly and operates smoothly. Here are some techniques you can use to adjust the drawer:- If the drawer is tilting or uneven, try adjusting the front or rear brackets. Carefully loosen the screws, align the drawer correctly, and then tighten the screws back in place.
- For drawers that are too loose or wobbly, you can adjust the tension of the glides. Locate the tension adjustment screw on the glide and tighten it incrementally until the drawer feels secure.
- If the drawer is sticking or not sliding smoothly, applying a small amount of lubricant to the glides or rollers can make a difference. Remember to use food-grade lubricant or petroleum jelly to avoid any contamination.
- Test the drawer after each adjustment to ensure it is fitting properly and operating smoothly.
Credit: www.kitchenaid.com
Frequently Asked Questions For How To Put Drawers Back In Kitchenaid Fridge
How To Remove The Crisper Drawer From A Kitchenaid Refrigerator?
To remove the crisper drawer from a KitchenAid refrigerator, follow these steps: 1. Open the refrigerator door. 2. Locate the crisper drawer and pull it out as far as possible. 3. Lift the front of the drawer slightly. 4. Lift the tabs on each side of the drawer while continuing to pull it forward.
5. Once the tabs clear the tracks, lift the drawer out completely.
How Do You Install A Crisper Drawer?
To install a crisper drawer, follow these steps: 1. Remove the old drawer by pulling it forward and lifting it out. 2. Align the new drawer with the tracks and slide it in until it locks into place. 3. Ensure the drawer slides smoothly and doesn’t catch on anything.
4. Test the drawer by opening and closing it a few times. 5. Adjust as necessary for a proper fit.
How Do You Put The Drawers Back In A Frigidaire Refrigerator?
To put the drawers back in a Frigidaire refrigerator, follow these steps: 1. Remove any items blocking the drawer. 2. Align the drawer with the tracks on the sides. 3. Slide the drawer in until it locks into place. Make sure it moves smoothly.
4. Repeat for any additional drawers.
How Do I Clean My Kitchenaid Refrigerator Drawers?
To clean your Kitchenaid refrigerator drawers, start by emptying them and removing any loose items. Wash the drawers with warm, soapy water, using a soft cloth or sponge. Rinse them thoroughly and dry them before placing them back in the refrigerator.
Conclusion
To ensure a smooth and hassle-free experience with your Kitchenaid fridge, it’s important to know how to properly put the drawers back in. Following the steps outlined in this guide, you can easily reassemble and arrange your fridge compartments without any difficulty.
By understanding the correct positioning and alignment, you can optimize the space in your fridge and maintain a well-organized kitchen. With these tips, you’ll have a fully functional and efficient fridge in no time.