To winterize a Whirlpool refrigerator with an ice maker, it’s important to take precautions to ensure the system is not damaged during colder weather. First, turn off the water supply line leading into the fridge and unplug it from any power source. Then empty out all of the food inside, cleaning as you go.
If there are any removable items such as shelves or drawers, remove these and wash them in soapy water before taking them back to their original position. Next, locate and shut off the valve that supplies water to your icemaker – this will prevent any freezing issues should temperatures drop below freezing outside.
Lastly, use a vacuum cleaner to remove all dust particles from around vents on your fridge and dry thoroughly with a cloth or towel before plugging back in and replacing food items stored inside.
How to Winterize a Whirlpool Refrigerator With Ice Maker
When the cold winter months approach, it’s essential to take precautions to protect your appliances, including your Whirlpool refrigerator with an ice maker.
Winterizing your refrigerator can prevent damage caused by freezing temperatures and ensure that it continues to function optimally throughout the season.
In this step-by-step guide, we will walk you through the steps on how to winterize a Whirlpool refrigerator with an ice maker, providing you with expert tips and valuable insights along the way.
- Step 1: Unplug the Refrigerator – Before doing any maintenance on a refrigerator, it is important to unplug the unit from its power source. This will help prevent electric shock and damage to both you and the appliance.
- Step 2: Clean Out All Contents from Inside – Remove all of the food and other items stored inside your Whirlpool refrigerator prior to winterizing it. Make sure that nothing remains in either compartment before continuing with step 3.
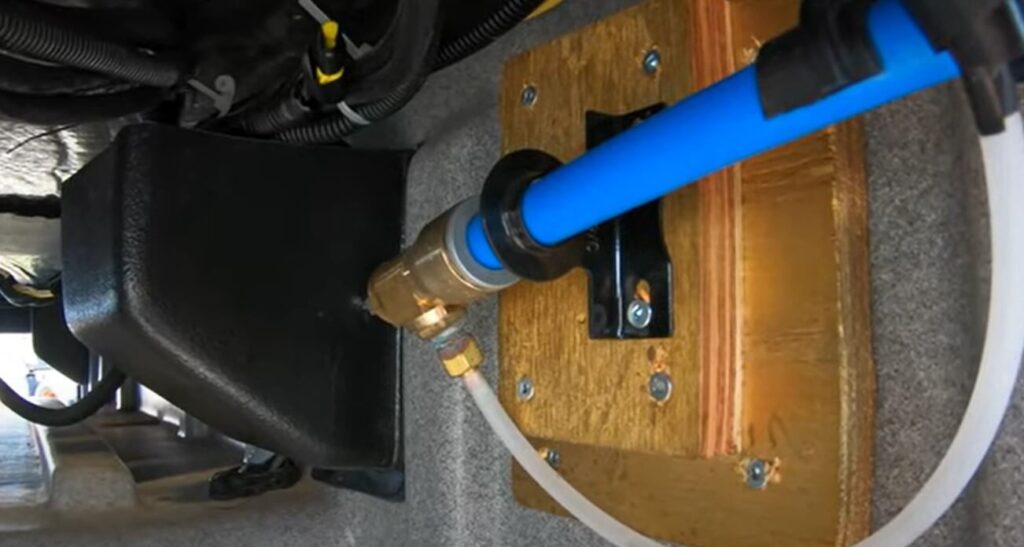
- Step 3: Turn Off Water Supply Valve – Locate the water shut-off valve near your refrigerator, which should be easily accessible from behind or beneath it. Turn off this valve to ensure no additional water can enter your ice maker during the winterization process.
- Step 4: Disconnect Ice Maker Line From Wall Valve – The next step is to disconnect the ice maker line coming out of the wall valve at the back of the fridge. So cold air cannot enter into the lines while not in use for months ahead during winter.
This can be done by unscrewing the hose clamp connecting the line with the valve or simply pulling it out if flexible tubing was used instead of rigid piping material such as copper pipe or plastic tubing. When installing the icemaker supply line originally due many years ago when first setting up the kitchen space layout/functionality wise (when the house was initially built).
How to Winterize Fridge With Ice Maker?
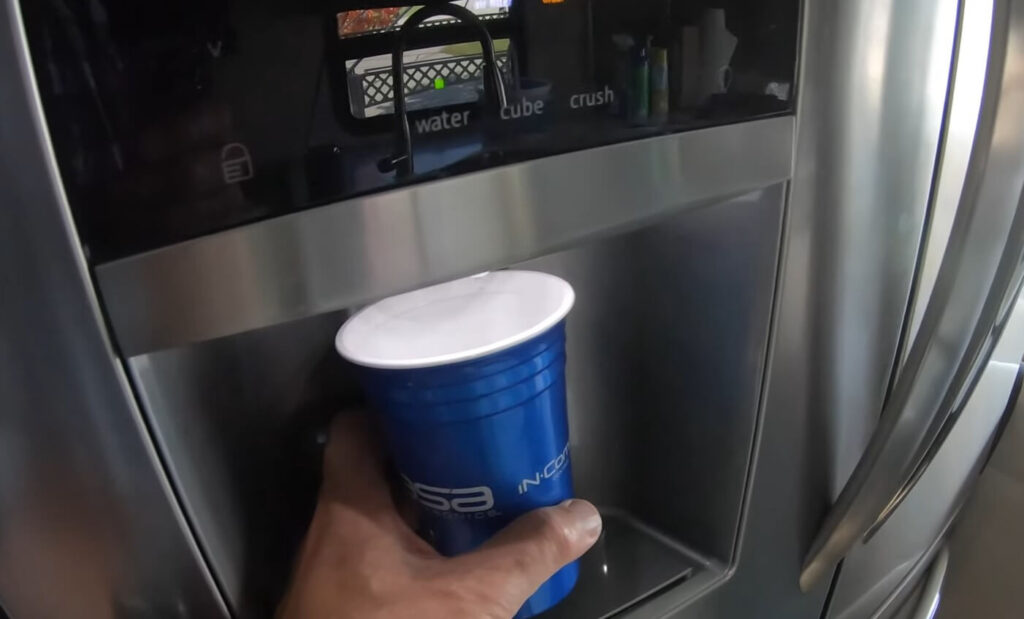
Winterizing your fridge with an ice maker is a great way to protect it from damage during cold weather. Before temperatures drop, disconnect the water line and turn off the ice maker switch inside the refrigerator. Next, empty out any remaining water from the lines by turning on the hot water tap nearest to where the ice maker connects before disconnecting the hose.
Make sure all surfaces are dry before storing them away for winter months. Finally, if you’re expecting extreme cold weather or leaving your home for an extended period of time, consider unplugging your fridge completely to prevent any potential issues due to power surges and other unexpected events.
How to Winterize an Lg Refrigerator With Ice Maker
If you have an LG refrigerator with an ice maker, it’s important to winterize it properly before the cold weather arrives. Make sure to unplug the fridge and clean out any debris or dirt from inside of the unit. Next, remove all contents from both the freezer and refrigerator compartments.
Then, turn off the water supply valve that is connected to your ice maker so no water can enter it.
Finally, leave both doors open for several hours in order for air circulation and drying up of any excess moisture inside of your fridge. Taking these steps will ensure a properly functioning appliance throughout the winter months!
How to Winterize Rv Refrigerator Ice Maker
Winterizing your RV refrigerator’s ice maker is an important part of getting ready for the cold winter months. Start by unplugging the ice maker from its power source and turning off the water supply to it. Next, remove any remaining cubes of ice from the storage bin and discard them.
Then, clean out any dirt or debris that has built up inside using a cloth and warm soapy water. Finally, fill the reservoir with undiluted white vinegar and let it sit overnight before draining it out in order to ensure that all mold spores have been killed off. Following these steps will help keep your RV refrigerator’s ice maker functioning properly during colder weather.
How to Winterize Samsung Refrigerator Ice Maker
Winterizing your Samsung refrigerator ice maker is an important step for ensuring that it maintains its optimal performance during the colder months. To winterize, begin by cleaning and sanitizing the interior of the fridge and freezer areas. Next, unplug the power cord from the wall outlet, then empty any water lines connected to your ice maker.
After disconnecting all hoses and lines, leave some towels in front of the refrigerator in case of leaks or condensation buildup. Finally, dispose of any remaining ice cubes before plugging them back into a wall outlet and checking for proper operation.
Winterize Insignia Ice Maker
Winterizing an Insignia ice maker is a simple and important task that should be done every few months to ensure optimal performance and avoid any possible damage from freezing temperatures. To winterize your Insignia ice maker, start by disconnecting the power cord from its source, turning off the water supply line, emptying all remaining water from the reservoir and tubs, cleaning all interior parts with mild detergent, thoroughly drying all components before storage, and finally wrapping it in a protective covering. This will help keep your Insignia ice maker safe during colder months while also helping maintain its life expectancy.
Whirlpool P/N 0311859
Whirlpool P/N 0311859 is a replacement motor for Whirlpool washers. This part replaces any current motor that may have failed due to age, wear, and tear, or other damage. It is designed to fit all models of Whirlpool washers, making it convenient and cost-effective for homeowners looking to replace an existing motor in their machine.
The motor comes with a one-year warranty from the manufacturer so you can be sure it will perform as expected for years to come.
Winterize Frigidaire Ice Maker
Winterizing your Frigidaire Ice Maker is an important step to ensure that it continues to work properly throughout the winter months. To do so, you should first unplug the unit and then turn off the water supply valve connected to it. You’ll then need to remove all of the ice from the bin and discard it, followed by cleaning out any remaining residue in both the machine itself and its water lines with either vinegar or a cleaner specifically designed for use on ice makers.
Once everything’s been cleaned out, you can plug your Frigidaire back in and reconnect its water lines before turning on its power switch again – now your ice maker will be ready for use during cold weather!
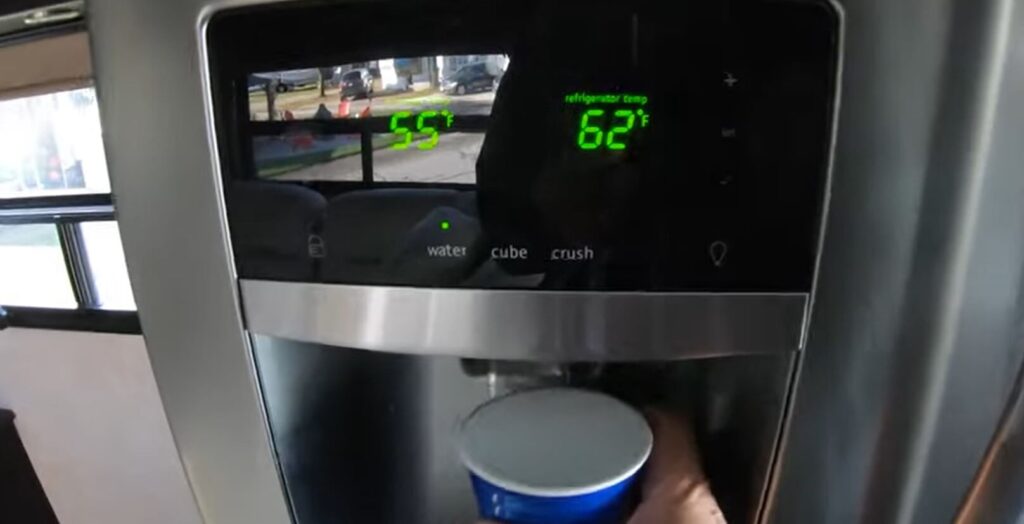
How Do You Winterize a Fridge With an Ice Maker And Water Dispenser?
To winterize a fridge with an ice maker and water dispenser, you should start by unplugging the unit from the wall outlet. Disconnect the water line from the shut-off valve leading to your house’s plumbing system. Drain any remaining water in both the icemaker and water dispenser lines by flushing them with warm air using a blow dryer set on low heat.
This will help prevent the freezing of these components. Next, remove all food items from inside the refrigerator and either discard or store them elsewhere for safekeeping during this process. Clean out all surfaces of dust, dirt, and debris prior to beginning winterization steps by wiping down shelves and walls with a damp cloth and mild detergent solution.
Finally, cover exposed openings such as vents or grilles around door hinges with plastic wrap or tape before covering the outside of the fridge completely in insulation material like bubble wrap or foam padding for additional protection against cold temperatures over winter months.
How Do I Winterize My Rv Refrigerator With Ice Maker?
To winterize your RV refrigerator with an ice maker, start by emptying and cleaning the appliance. Remove all food items from the inside and scrub down the shelves, bins, and drawers before rinsing them off with a mild solution of soapy water. Once this is complete, unplug the unit from its power source to prevent any electrical damage that could be caused during the winterization process.
Next, disconnect all water lines leading into and out of your refrigerator’s ice-making system before draining any residual liquid through the drain valve or tube located at the bottom of your fridge. Finally, add a half cup of non-toxic RV antifreeze to each side of your appliance’s water line connection points to ensure that no freezing temperatures can reach it while in storage throughout the cold months ahead.
How Do I Winterize My Ice Maker?
Winterizing your ice maker is an important task to ensure it functions properly during the winter months. To begin, make sure you turn off the power to the unit and unplug it from its electrical outlet. Then, remove any ice that may be present in the bin or tray by either scooping it out with a spoon or using a vacuum cleaner with a soft nozzle attachment.
Next, clean all of the components including the evaporator plate and drain lines using either vinegar or bleach diluted in water as per the manufacturer’s instructions. Finally, flush out any remaining debris from the inside of the system by running warm water through for several minutes and then disconnecting all hoses before reinstalling them after drying completely.
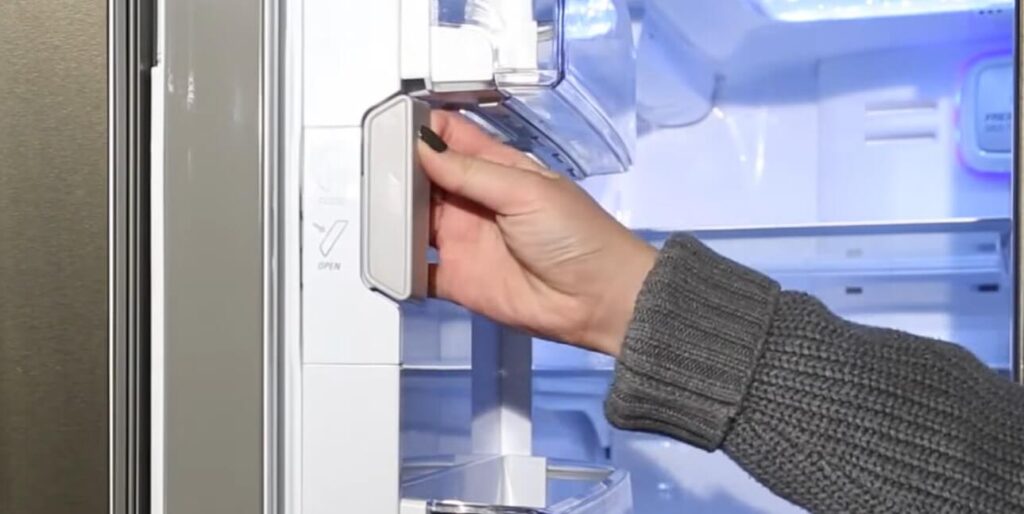
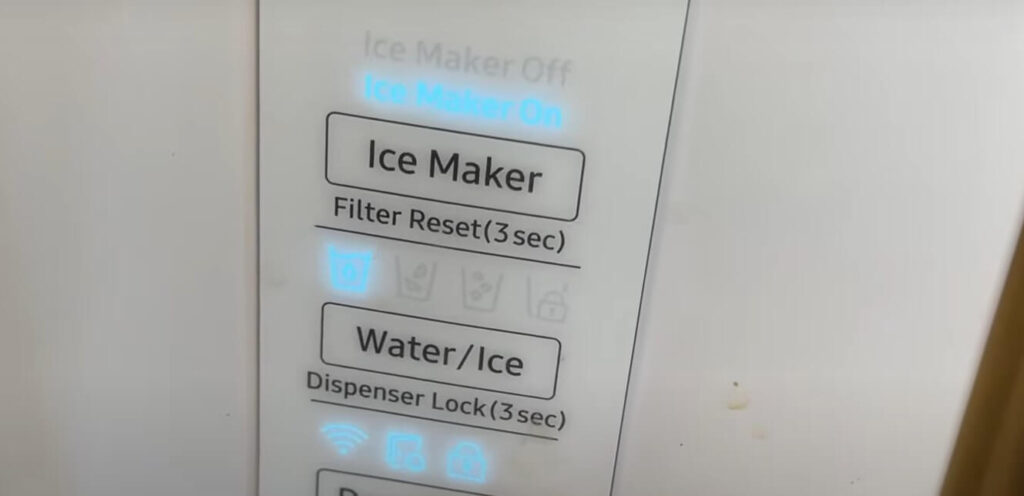
How to Turn off the Ice Maker on a Whirlpool Refrigerator Freezer?
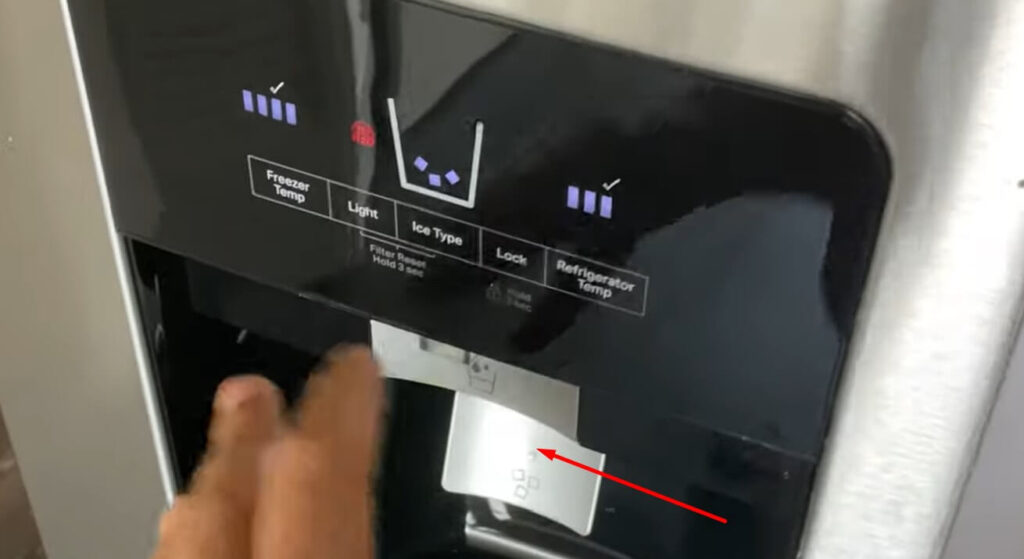
To turn off the ice maker on a Whirlpool refrigerator freezer, open the freezer door and locate the ice maker’s power switch. Push it to the “off” position. This will disconnect your refrigerator from its water line, preventing any more cubes from being made.
If you want to turn it back on at some point, just push the switch back into the “on” position. It is important to note that if you don’t plan on using your ice maker for an extended period of time, be sure to unplug your fridge before doing so – this will prevent damage caused by long-term storage without power running through it.
Conclusion
By following the steps outlined in this blog post, you will be able to winterize your Whirlpool refrigerator with ice maker and ensure that it continues to work properly. This includes checking for any water leaks, cleaning the condenser coils, removing the ice bin and turning off the water supply.
Additionally, make sure to unplug your refrigerator before beginning any maintenance procedures.
Taking these steps now can help keep your refrigerator running smoothly during cold months so you have peace of mind when temperatures start dropping.